Child Science Education: 4 Experiments With Water
It’s good to go through the basics of physics and chemistry with a young child, and what better way to start science education than with fun games and games. Such are well suited for studying water and its properties, for example.
At home, several easy experiments can be performed to help a child learn about the wonderful world of science in an entertaining way. The best way to teach is to let the child try it for themselves. This works great as it arouses the child’s curiosity and interest in various scientific phenomena.
Child science education and 4 experiments with water
So now we are talking about easy experiments that can be enjoyed with the whole family.
1. Runaway pepper
For the experiment, you need the following tools:
- Water
- Bowl
- Ground pepper
- Liquid soap
Process:
- Put some water in a bowl.
- Sprinkle the pepper into the water until it covers the surface.
- Take a small drop of liquid soap on your finger.
- Touch the surface of the water with your fingertips.
In the last step, you can see that the pepper moves quickly away from the place that has touched the soap. Some of the pepper drips to the bottom and some goes to the edges of the bowl.
What’s going on here?
The water molecules are bonded together, allowing a light substance to be present on the surface .
This is called surface tension, and thus allows the pepper to float. Soap reduces this tension as it affects the forces.
When the tension breaks and the pepper has no ability to sustain the formation, it dissipates. It goes either to the bottom or to the edges of the bowl.
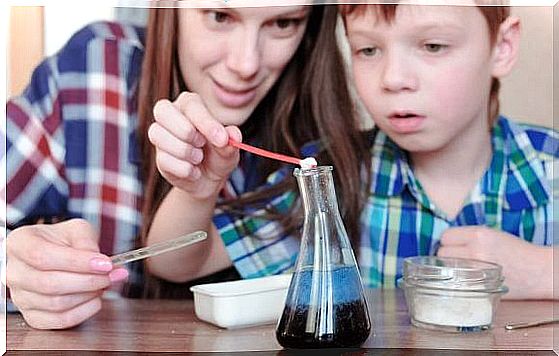
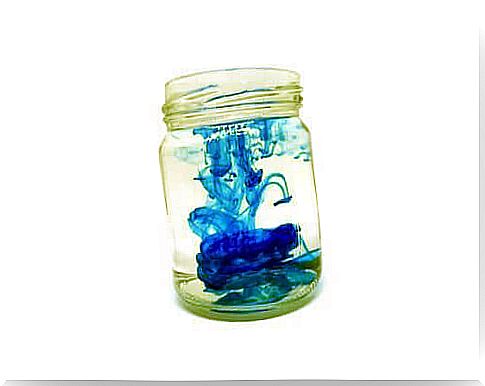
2. Rainbow in the bottle
For the experiment, you need the following tools:
- Transparent plastic bottle
- Hhunajaa
- Corn syrup
- Dishwashing detergent
- Water
- Alcohol
- Food color
Process:
- Mix food coloring with corn syrup, water, oil and alcohol – each one separately. Make sure you use a different color for each liquid.
- Pour the liquids into the bottle – start with the honey and continue in the following order: corn syrup, dishwashing liquid, water, oil, alcohol. Use plenty of fluids to create layers of at least 1.2 cm.
- Liquids need to be layered – be careful not to mix them. They form a beautiful rainbow that can be admired in the light.
What’s going on here?
Density describes molecular forces in solids, liquids, and gases. Each substance has its own density, and this experiment shows different densities of liquids.
Liquids with more molecules and thus density are heavier. They are at the bottom without mixing with others. Those that are lighter stay higher.
3. Water wheel
For the experiment, you need the following tools:
- Transparent plastic bottle
- Water
- Blue food color
- Felt-tip pens
Process:
- Draw the sky, the sun and the clouds at the top of the bottle.
- Pour water into the bottle and fill it halfway, and then put the cap on.
- Put the bottle in the sun for a while.
- The water at the bottom evaporates as the sun warms it. It rises and forms water droplets at the top of the bottle.
What’s going on here?
The experiment simply describes the water cycle. The sun heats the water that rises into the atmosphere as water vapor. It creates clouds where water is stored.
The steam in the clouds condenses. When it encounters a stream of cold air, it rains down in the form of water. This is one of the best studies on water for children.
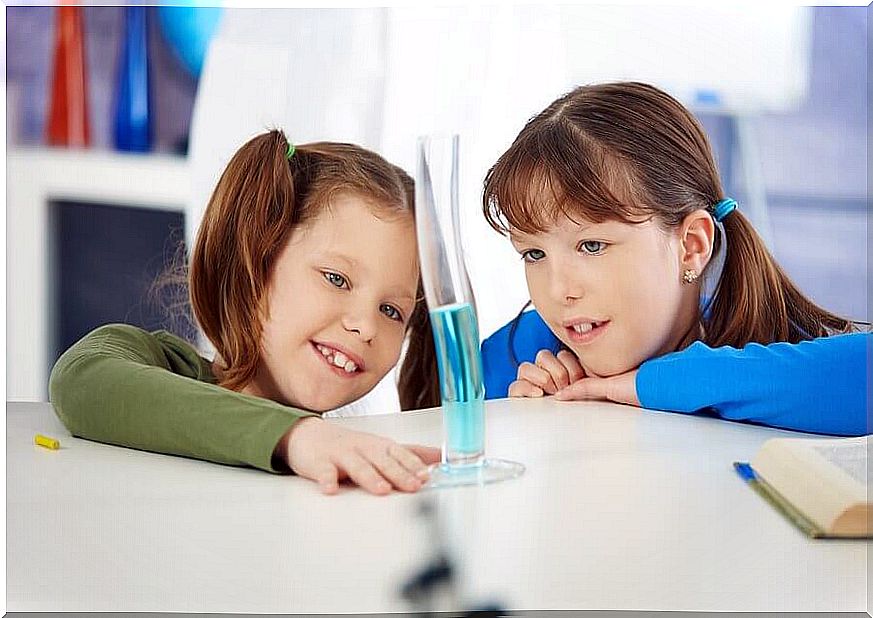
4. Walking water
For the experiment, you need the following tools:
- Water
- 3 transparent jars of the same size
- Paper towels
- Blue and yellow food coloring
Process:
- Fill the two jars halfway with water.
- Mix the waters one yellow and one blue dye.
- Put three jars in a row (empty in the middle).
- Fold the two paper towels into strips.
- Put one end of the strip in a jar of yellow water. Put the other end in an empty bottle. Do the same for the blue water jar.
Watch the water move from the jars through a paper towel – it’s exciting for kids to watch as the paper turns green.
What’s going on here?
Water molecules combine with each other as well as everything they are in contact with. This is called adhesion, and the capillary phenomenon is also an essential factor here – it refers to the ability of the liquid to rise up along the porous material.
These water tests allow the child to see when the molecules get stuck in a paper towel and other liquid. In addition, the child sees how the two primary colors combine and create a new color.
Water is a necessary thing for life and our planet. These water tests allow the child to learn about the important functions and properties of water.
Such experiments are cheap and fun, and they are very instructive – these are the basics that are important for a child to understand.
Enjoy rediscovering the world with your child and in the peace of your own home – open the door for him to the wonders of science and learning!